Saturday, July 23, 2011

Pastels and Brights

Well we've done it !!!  with a week off work we've had almost enough time to sort,organise and cart nearly everything from here to the new digs, (the big stuff is on it's way as l write) and all is coming along well. We started on some of the painting but ran out of  time to finish and share the first makeover.  Most of the cupboards are contacted in "lovely" 70's daisies, so an update is also well on the way .... using 2011 marbled contact.. hehe!! 


Strangely for Winter the sun was streaming through the kitchen window so took some pics to share with you.


This week's post was inspired by a "dishes in the sink pic" l found on a Selina Lake post ( link on my sidebar), so when l spotted this gorgeous vintage plastic dish in an opshop earlier in the week l  knew it'd be perfect for something similar.


Many years ago l spotted a pic in a magazine of a kitchen dresser filled with all shades of plain pastel china, which looked stunning and inspired me to collect some pieces for my own little display. l don't quite have enough bowls YET!! but maybe by Spring.  l've only shown the pink, blue and green cos even though l also have lemon the colour clashed with the dish. 


This pretty hand vase was a lucky dollar find at the opshop.


Right. crochethealingandraymond via pinterest. Would love to knit something like that!!
Left. This Japanese jug which is probably 60's, is one of two l have but was most likely one of a trio.


Lots of lovely patterns.
amybutlerdesign via pinterest.


Spring - Umbrian Hill via pinterest.


Feelgood pic of the day. Cute much.....pinterest.

Enjoy your weekend, here's hoping for some shining of the sun.


Til next time.

Friday, July 1, 2011

Aaahh.... what have l done.

We used to live in a teeny house and coming here we found ourselves  a bit light on for furniture. Something we really needed was a lounge suite, so when my elderly Aunt who lives in Melbourne was downsizing her lounge suite she kindly offered this one to us. We hired a small truck, risking life and limb driving through Melbourne to pick it up.......which wasn't easy cos it weighs a ton. Since it doesn't have big puffy seats and armrests hubby was less than impressed, and l admit it's not something l would pick out ... but it was something to sit on. l'd always had the idea that l'd paint it, but Aunt had polished and treasured that carved wood so l was a bit hesitant to let lose with the paintbrush, and what if she caught the train and visited and saw it... Lordy l did not want that face etched in my brain...
Any way l got over it  and here it is. Also she's way older now and unlikely to visit. Now if the suite was an antique l most likely wouldn't have painted it but since it's an 80's repro l don't feel too badly.


As you can see the cushions in the after pic are not the original. l was lucky enough to come across another couch which had all these feather filled cushions on it. l payed the $150 they were asking for the couch and l only took the cushions. They were nice enough to get rid of the couch frame for me. When l got home they fitted perfectly..yay!!
It took ages to sand and l knew l had to do a pretty thorough job as it had been polished fanatically (not by me). To paint it l based it in grip lock primer and then 2-3 coats of a warm white. It was a colour l concocted myself, so no name.


Although it looks ok in this pic l just think it's a bit dark and old fashioned.


l've done away with the back cushions and made my own softer ones. l put lace around the bottoms since l'm so not a fan of the floral. l made the front cushions ages ago and they seem to match in ok.


Drab to fab.....what do you think?? (Sorry about the fuzzy before pic).


Even though all the covers come off and can be washed it's just so cosy and comfy with this old chenille bedspread thrown over it. 


This is how it sits in the family room.


l mentioned that l'd painted a fly on the cupcake in this painting and thought you might like to see it. Not very appetising.....either the fly or the cake...but a bit of fun.


pinterest.com  

l hope to start the kitchen setting soon so have been looking around for inspiration. Love this table and chairs.


Gorgeous flowers from weddingwhims.tumblr.com via pinterest.


l can't believe l'm saying this again already...but have yourselves a fantastic weekend. 

Take care.
Bron.


Tuesday, June 14, 2011

Bookcase Makeover.

You may remember a while ago l went shopping for a dressing table which was a complete flop, except for the chance discovery of this bookcase.l didn't buy it right away cos it was pretty ugly and so very 70's and brown, but l kept thinking about it over the following couple of days as it also had kinda nice curvy mouldings and nice proportions. At $80.00 and a bit of paint it didn't seem like too much to lose. Strangely my son thought the brown was great (go figure) and hubby wanted to chop it up for the wood heater....GUYS!!!!


It took FOUR coats of paint to cover all the brown completely and is done in two different shades. The pale colour is Dulux antique lace which is a very pale mauve/grey, and my old fave....weathered wood. The shelves came separately and had to be attached, so they didn't get into the before pic.It also came with another shelf but thought it might close the space in too much, so l left it out.


 The backboard on the cabinet has been painted in the darker shade of weathered wood as are the recessed parts of the doors and top moulding.


All the moulded pieces have been done in the light shade, this way just highlighting the 3D effect. l've also not been too fussy about painting every nook and cranny, in order to preserve some of the dark wood. This not only adds interest but lets a little of it's history show through.


Now comes the fun bit of spramping it up.
It could be used to store pretty much anything but for the purpose of the pics l've added a quilt, cushions and floral scarf to the lower shelves,


and to the upper shelving l've placed books, one of my paintings (lilac) and some purple pansies for a splash of colour.


A closeup of the lower shelves. The cushions are both vintage and new.. ish.


This is a pic of the entire thing all set up.........


Just wanted to share a couple of pics l found at angelatmytable.com 
Wall scone and candlesticks.


Hope you've enjoyed this post, l had a great ol' time putting it together.

Til next time,
Bron.

Tuesday, June 7, 2011

Artist - Jacqueline Coates

Well you may have noticed my blog posts have become a bit erratic which is due to changes in my job..... now l just don't know in advance when l'm working, which is a little good and a little bad. Nevertheless l'll still be here whenever there's a free mome, and hope you'll continue to  pop in when  you have a free one.

Though many of you may already be familiar with Australian artist Jacqueline Coates l hope you and those who aren't, will enjoy this post l've put together.
Jac has kindly granted me permission to share pics from her website and also emailed me some pics of her barn where she used to live and paint, but which she now offers as self contained accomodation. 


Cream Roses - Oil on Canvas

Jac was originally working as an art director in Sydney when she dreamed of painting a giant red rose on a huge canvas.... all while singing on stage as an opera diva. When she woke she felt compelled to paint her vision and surprised herself when the finished work was a huge 7 feet square.


Lavender pinocchio roses. Oil on canvas

She hung the painting on her living room wall but a few years later sold it to a friend. When it was gone she felt the need to fill the void that it had left. This too sold, and so did a number of others.....


Lilac Banksia roses and Jasmine from the garden - Oil impasto on canvas.

but it wasn't until after a trip to Paris where the many beautiful gardens renewed her interest in the rose and inspired her to revisit the idea of painting roses more seriously.......this resulted in her first solo exhibition in Sydney in 2001.


Summer roses Lausanne- Oil on canvas

Jac then moved to Kapunda in South Australia's Barossa country where she bought "The Barn" which she renovated and set up as a home/studio. More recently she purchased a workshop (in a last minute decision) which she's also renovated and is now the salonrougegallery.com, an arts centre and gallery, where Jac holds classes, and exhibits her works, as well as those of other emerging artists.


Study in blue and white.


Cafe au laite roses. Oil on canvas


Pink rose blossoms and buds
It's hard to pick a fave isn't it. They're all so lovely.


Jac in her studio.


The front of the barn.


One of the sleeping quarters.


Many of the walls are hung with Jac's paintings.


The lovely and functional country style kitchen.


l hope you've enjoyed this glimpse into the fascinating life of an artist whose passion and love for what she's doing is evident in every choice she makes.
You can visit, see and read much more at jacquelinecoates.com


Have a wonderful rest of your week,

Bron.

Saturday, May 21, 2011

Sewing and Silk.

This week l've dusted off the sewing machine to make a couple of projects and hoped you might like to share them with me. Usually when  l'm inspired to sew something l head for the back room where l have a pretty large stock of vintage fabrics, trims, braids and cottons etc.This allows me to not only recycle, but also to create something unique. As the weather is getting cold l decided to make some armwarmers which are great to tuck up under 3/4 sleeves or even longish short sleeves.


To make them l've just found an old top and cut the sleeves off. The sleeve seam is cut open to allow all the trims to be sewn on flat. Here I've used vintage heavy lace, and 3 rows of pale cream lace which has been pleated as l've sewn.Then added ribbon to hide the messy stitching. The seam is then resewn to fit and elastic added to the end that tucks under your oversleeve, so they don't fall down..... Voila!! easy.


l was on a roll, so found a large piece of vintage curtain fabric and cut around the shape of a top l like the shape off. Just sewed the shoulder seams first then sewed some heavy lace along the front neckline and then added the neckband. sewed all the side/arm seams and added the sleeve and waist bands. The sleeves are a wee bit tight but will be o.k in the warmer weather, without sleeves underneath.


Sometimes the library has great books and a few weeks ago l borrowed this lovely book called Silk. (Jacques Anquetil). l took  some pics of my fave's which l'm showing here.

Pics. 18th century emboidered silk bodice, and silk court shoes.
.


18th century French brocade and pekin (fine soft silk) on frock.


Left. 18th century brocaded lampas (type of fabric) silk.
Right. Chine velvet patterned 19th century chair.


Peacock tapestry 1773. Silk brocade owned by Russia's Catherine the Great.
Right. Damask drapes with lampas silk border.


19th century French portrait of Rose Caron wearing satin and silk chiffon frock.


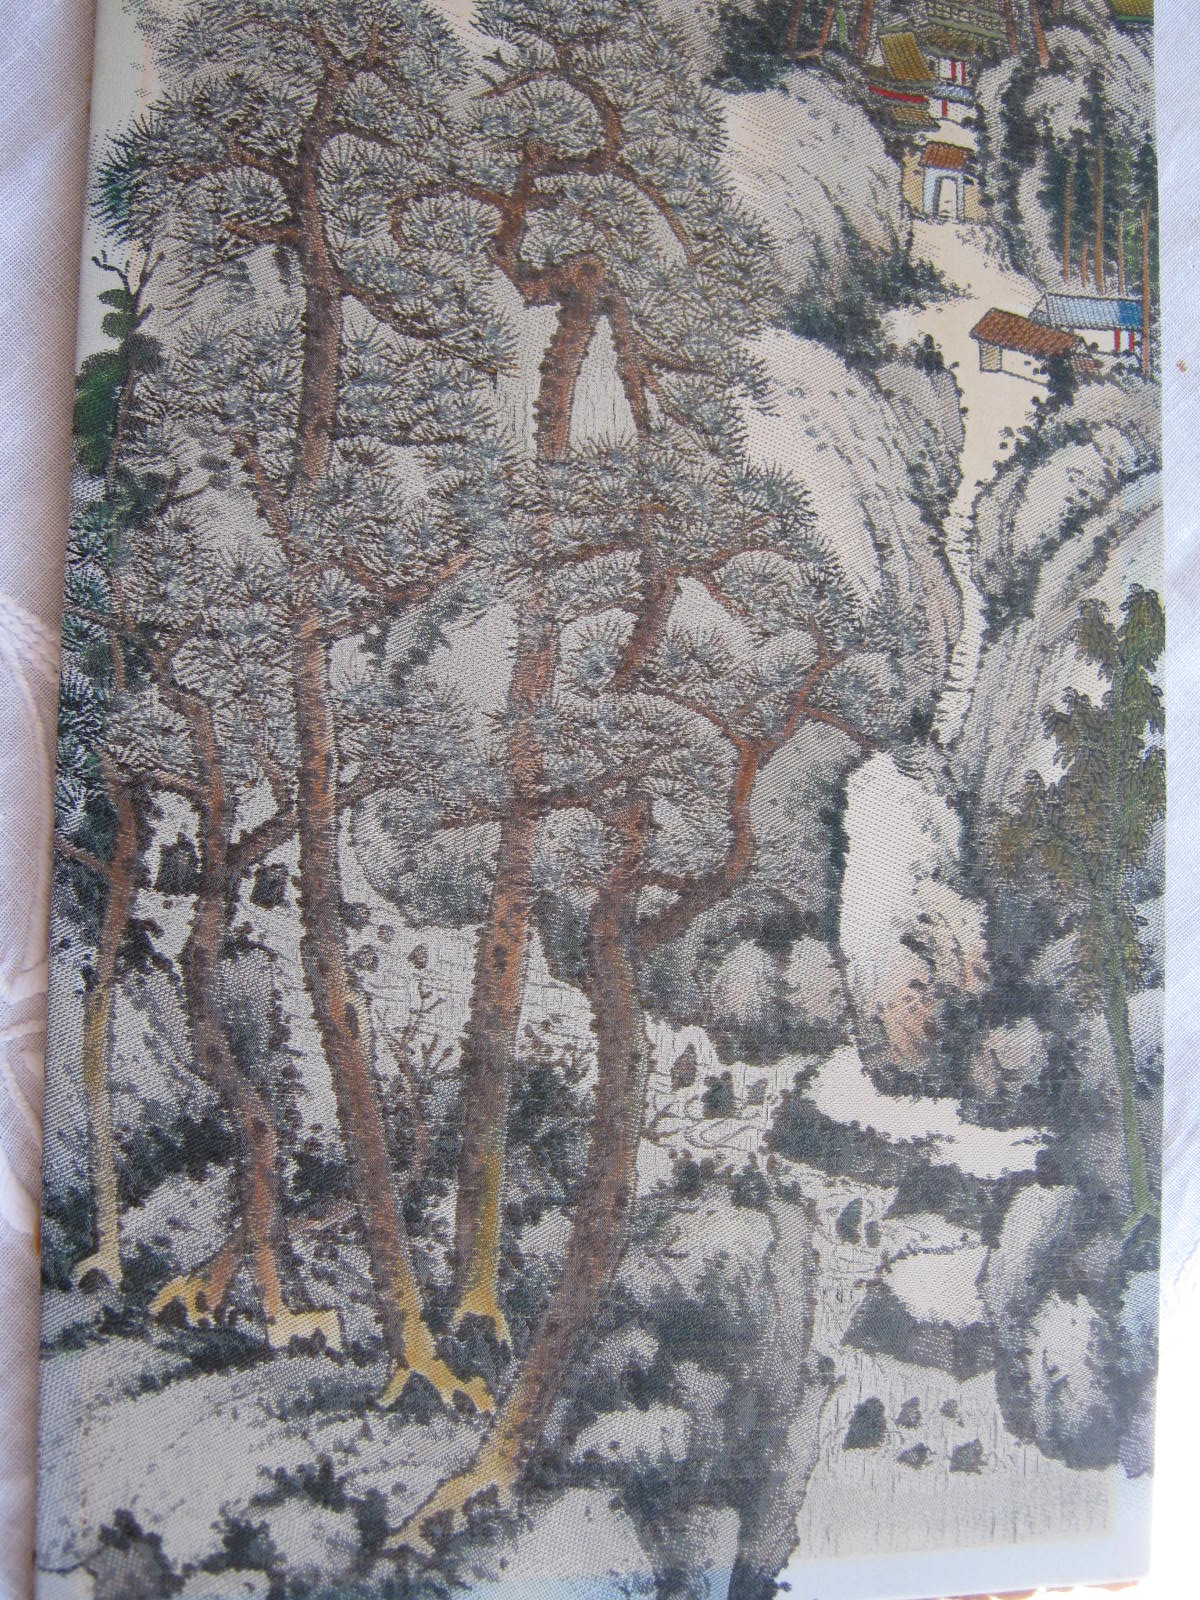
Over the years l've been able to collect a few silk embroideries, they often also have some form of handpainting.


l'm pretty sure these are both machine done but still beautifully done and typically Asian.


Gorgeous bed linens using a variety of fabrics from Bellanottelinens

Have a wonderful relaxing weekend, til next time.
Bron.